

BLUE TAPE DAY

Okay most asked question on our PRE WALK DAY: “What is Blue Tape Day?”
Blue Tape Inspection is part of the process of building a new home. This is one of the final processes as the home nears its completion.
Usually a week from the final completion date, the buyer will meet with a representative for the builder often the construction manager and the builder’s agent and your realtor of choice.
The buyer and the builder representatives will do a walk-through of the home looking for incomplete items or items that require additional attention, repair, or correction. These items are marked with a piece of blue painter’s tape — hence the name.
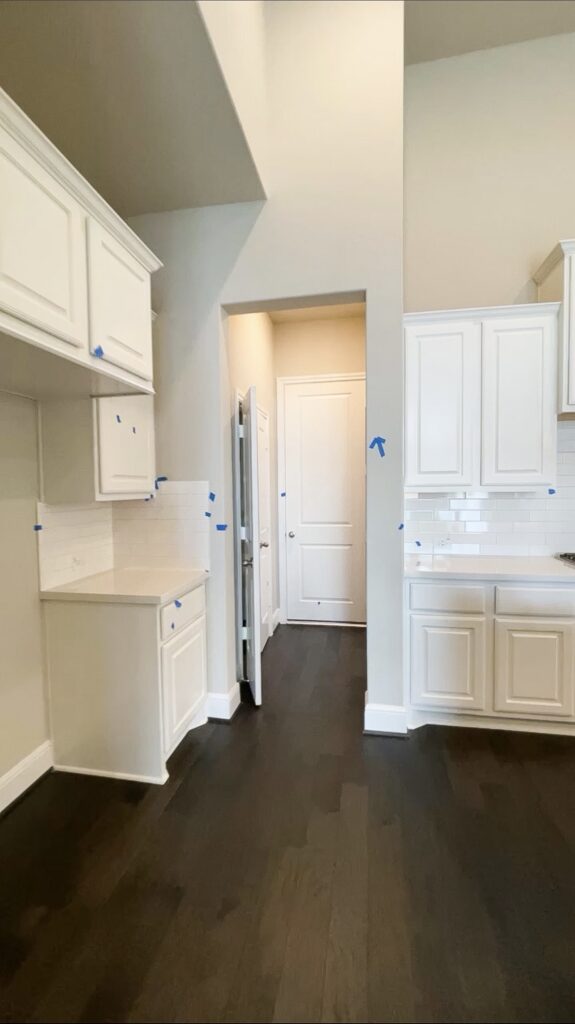
Items marked can cover a broad spectrum of work, but most often, they are small scuffs on a wall or a cracked tile. In more uncommon cases, a marker can point to an incorrectly installed cabinet or a light fixture. In extreme cases, it might be a missing electrical outlet, painting on walls that need to be redone or backsplash, crown molding etc
Once everything has been marked with a piece of blue tape, the builders will commit to addressing each issue and resolving it. This is also the time to discuss final expectations, home warranty information, etc. as offered by the particular builder.
A day or so before the final closing date, when the buyer actually purchases and takes possession of the home, there will be one more walk-through to confirm that the items found during the Blue Tape Inspection were correctly addressed.
Hope this answers some of the questions.
Now here’s some tips to get you prepared for the big walk through
TIPS FOR BLUE TAPE DAY
Before heading to your big walk expect to be there for a good while. We did over 2 hours. Never feel rushed and get cut in a 30 min window, that’s not enough time. Take it slow, its important to take your time.
Walk Through Ready:
- Have your agent/ realtor with you. You want someone to be there for you, to represent you, and be the mean “tough” guy to get things done. They are the experts and have done this dozens of times and know things you might not catch at first glance. They can answer questions and guide you through the process. They also can make sure your construction manager is getting things done by pointing out all the major things.
- Bring a notepad to write down and check off everything from your checklist. It can be helpful to write down questions, concerns or final observations
- Have your phone ready to go and fully charged. Having your phone can be helpful to get all the pictures in record of everything you blue tape to reference back on. I did this and saved it all to a folder and send it to our sales counselor so we were both on the same page.
- Another helpful item is having your phone charger to test out the electrical outlets and make sure everything is functional. We were able to catch an outlet or two in my daughters room and bathroom this way.
- Having your agent go over the inspection summary will be important to double-check that all repairs have been completed as promised.
Exterior
- Walk the perimeter of the house to check for cosmetic deficiencies.
- Check all exterior doors, insuring frames are secured and painted on all angles
- Check all windows, insuring frames are secured and painted on all angles
- Check the gutters and downspouts, checking that they are free of debris, in working order, and deposit water into to the ground and not onto another part of the house that can cause rot or damage.
- Be sure the garage door opens and closes and is sealed securely on all four sides.
- Open the garage door, especially if it was painted, and check all angles for uniformity.
Doors
- Open and close all doors. See that doors are well-fitted and operate as intended.
- Make sure all six sides are painted – front, back, top, bottom, and both ends.
- Check all locks, including deadbolts, operate properly without binding, and that thresholds are adjusted correctly.
- Hinges should be clean and free of paint.
- Check that locks are well-installed and do not rattle when the door is closed.
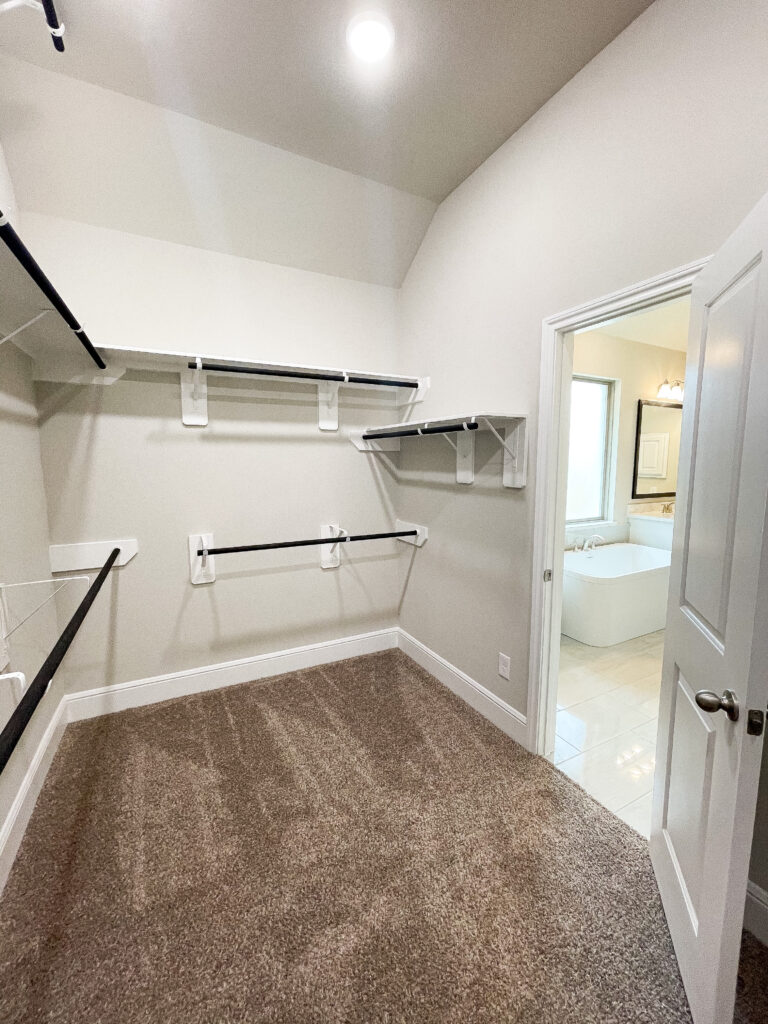
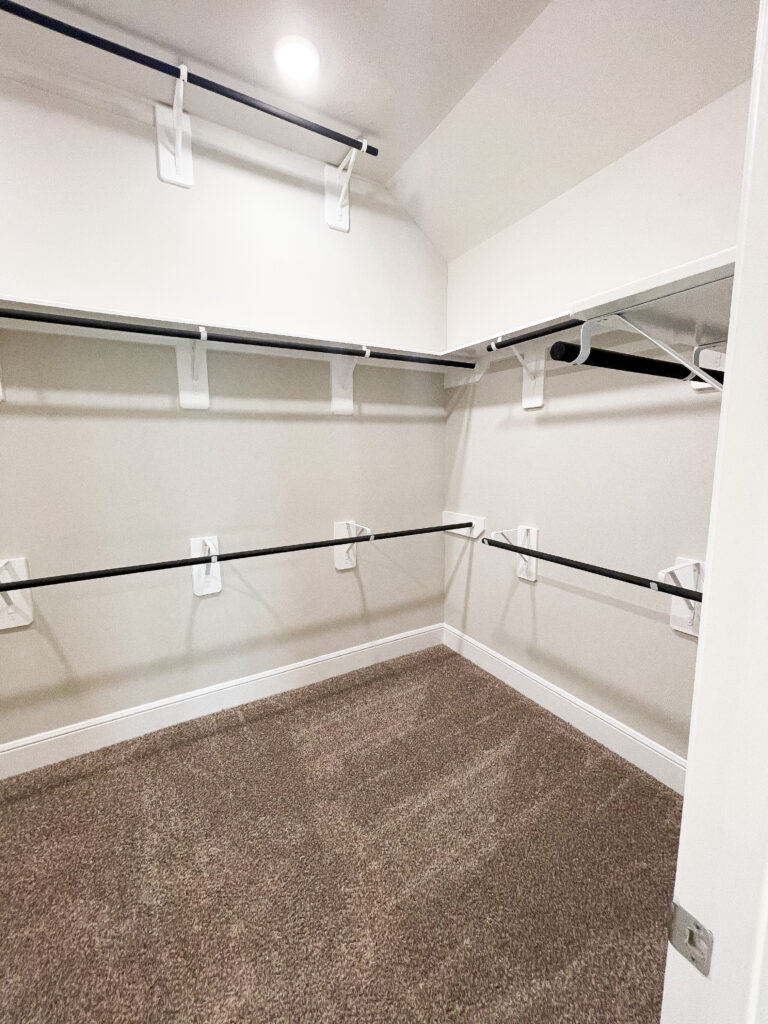
- Make sure all closet doors are secure and open and close easily.
- Make sure all closet door knobs are secure.
Windows
- Open all windows.
- Determine that locks operate properly.
- Tracks should be lubricated to prevent binding.
- Make sure screens are in place and not torn.
- Look for broken panes.
- Check that any glossing was done properly.
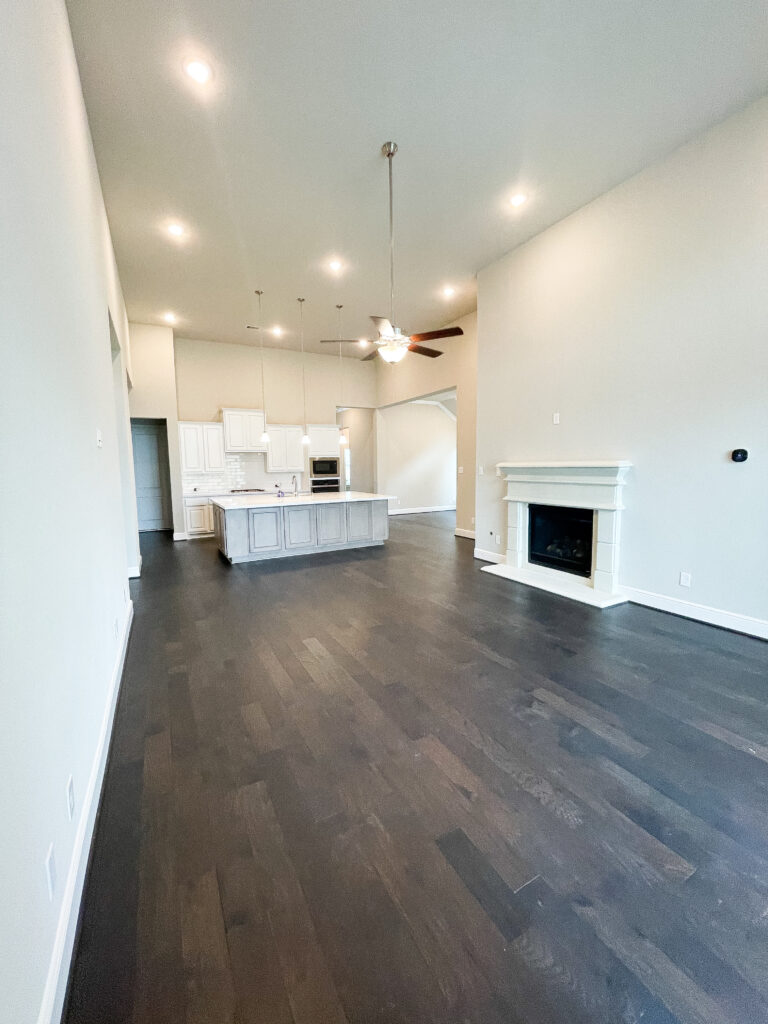
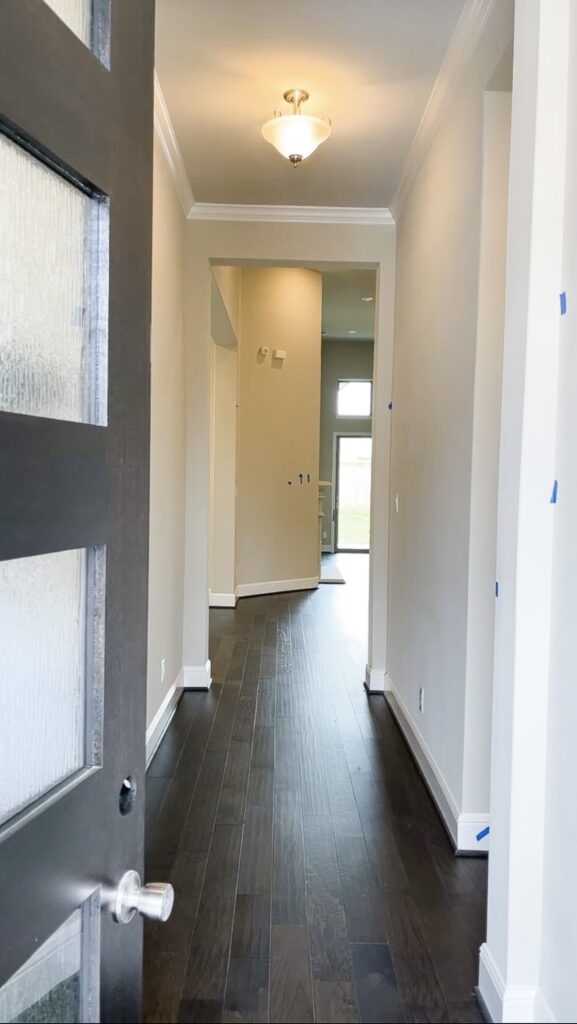
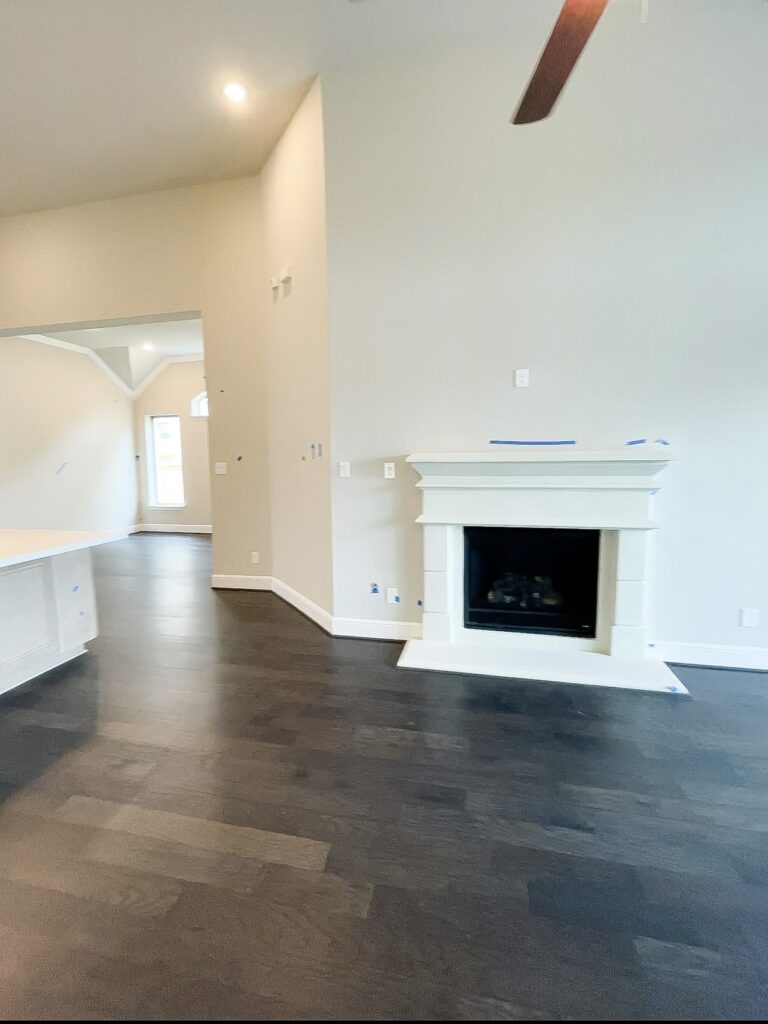
Walls
- Walk the perimeter of each room.
- Check all floor and ceiling moldings for uniformity, paint/stain, and security.
- Search for gaps that need caulking, protruding nail heads that need repair, and for proper
- Scrutinize all wall and ceiling surfaces under natural light and under artificial illumination (close blinds or do so at night if possible). Poorly done drywall work tends to show most when the lights are on.
- Inspect the wall finishes for uneven paint coverage, or spots with missing paint, and that texture has been applied evenly.
Electrical
- Check all wall outlets and switches, assuring they operate correctly.
- Test light fixtures; are they attached securely and contain the correct-wattage bulbs?
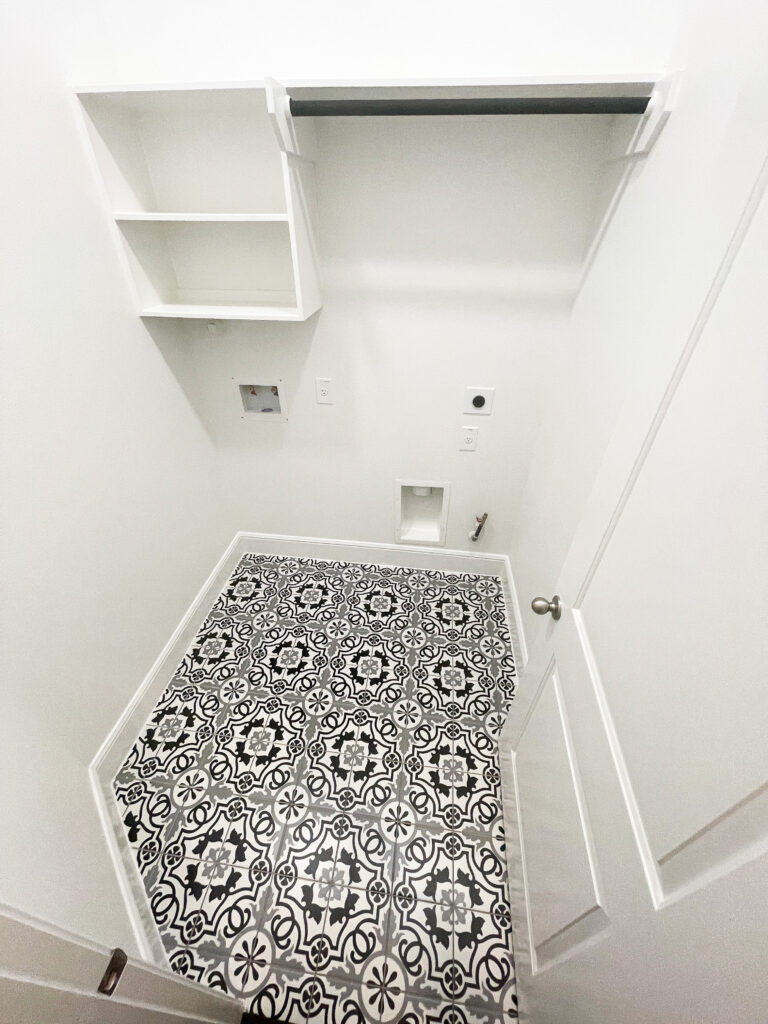
Flooring
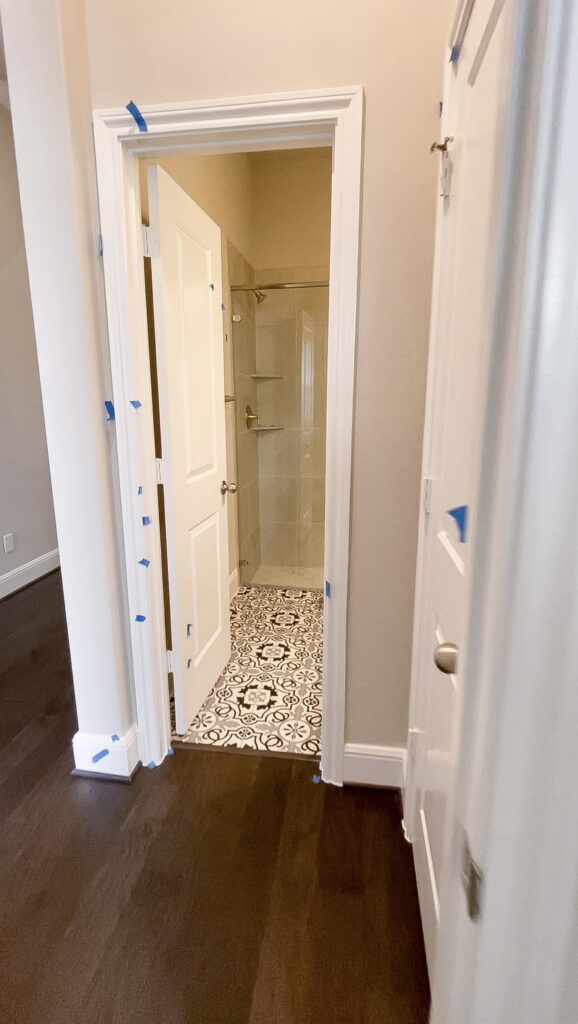
- Hardwood, tile or vinyl flooring should be clean and free of chips and cracks.
- Check for missing grout, and be sure molding is installed and painted or stained.
- Walk all carpeted areas, checking for loose fits at the edges, ripples in the middle or squeaks in the subfloor.
- Walk across all floors in different patterns. You should have minimum squeaks spring when under pressure.
- All flooring types should have a relatively flat surface.
- Examine seams in carpets and vinyl to ensure they are tight and meet the edges of the room securely.
- Inspect ceramic tiles for surface cracks. Joints between ceramic tiles should be well-filled with grout. Grout should be in good shape and free of chipping.
- Inspect flooring for damage.
- Examine carpeting for stains or shade variations, assuring the correct carpet and pad were used.
Kitchen
- Check countertops for scratches and abrasions. Counters are a magnet for toolboxes.
- Make sure the cabinets and appliances are level and properly anchored to the wall or secured to the countertops.
- Check all doors and drawers. They should open fully and close easily.
- Assure that every appliance works, is level, and free of debris.
- Check faucets, outlets, and lightbulbs.
- Check under the sink for any obvious signs of damage, leakage, or debris.
- Test the range hood fan and light.
- Make sure there are electrical outlets above the counter.
- Check garbage disposal.
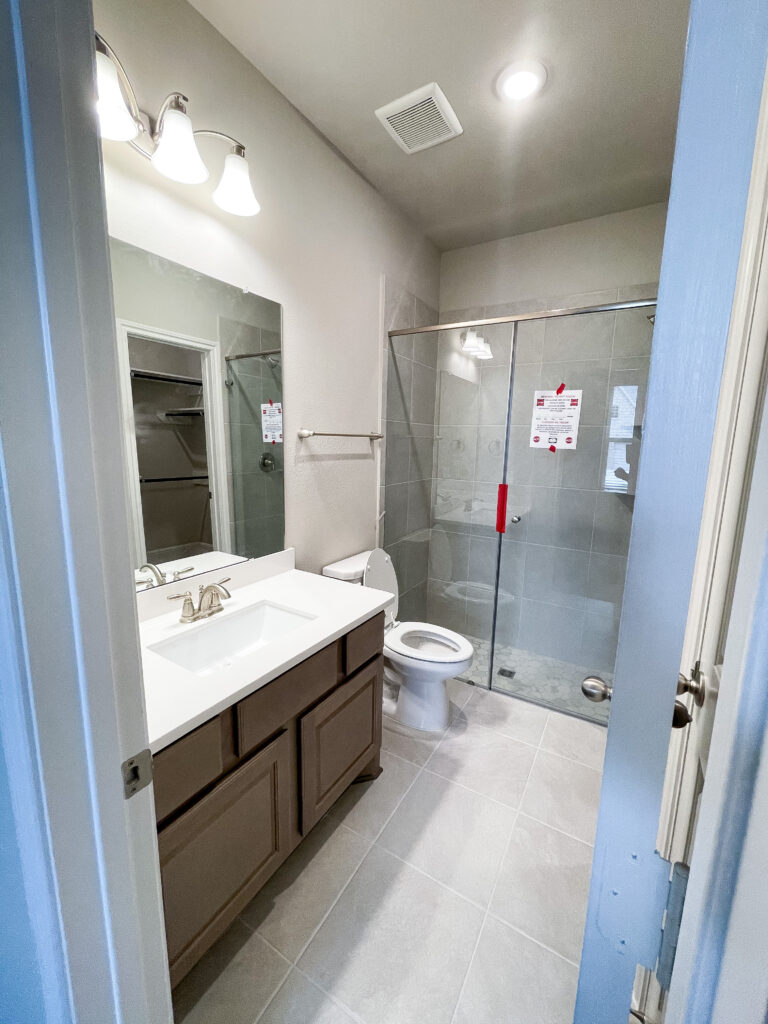
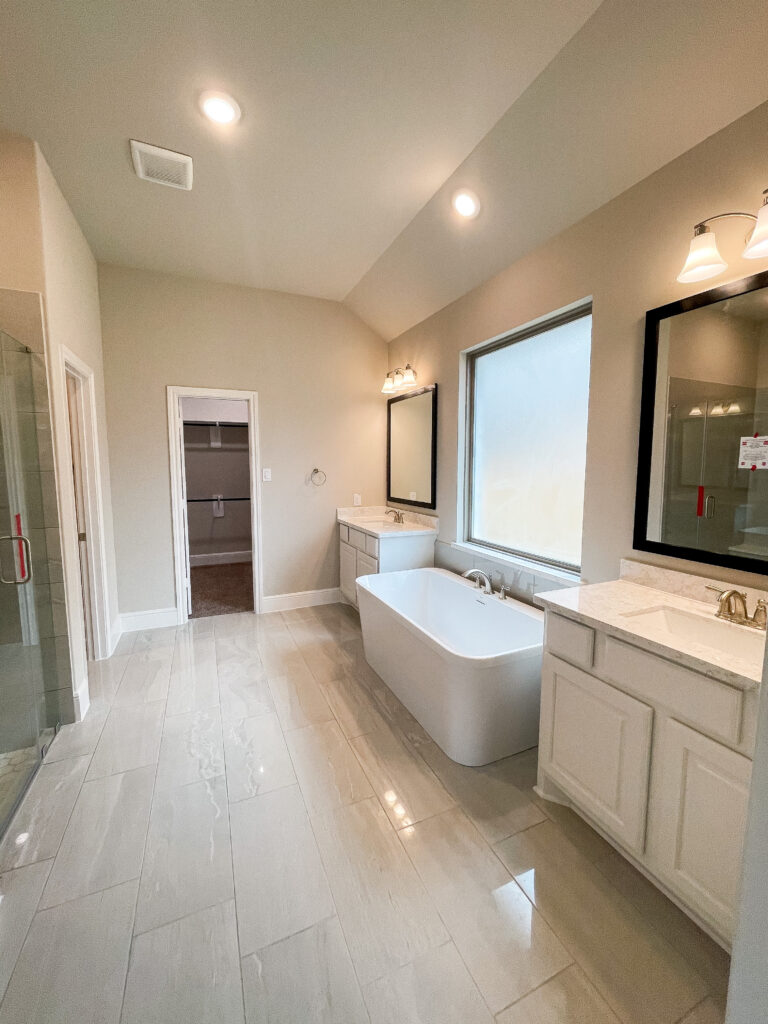
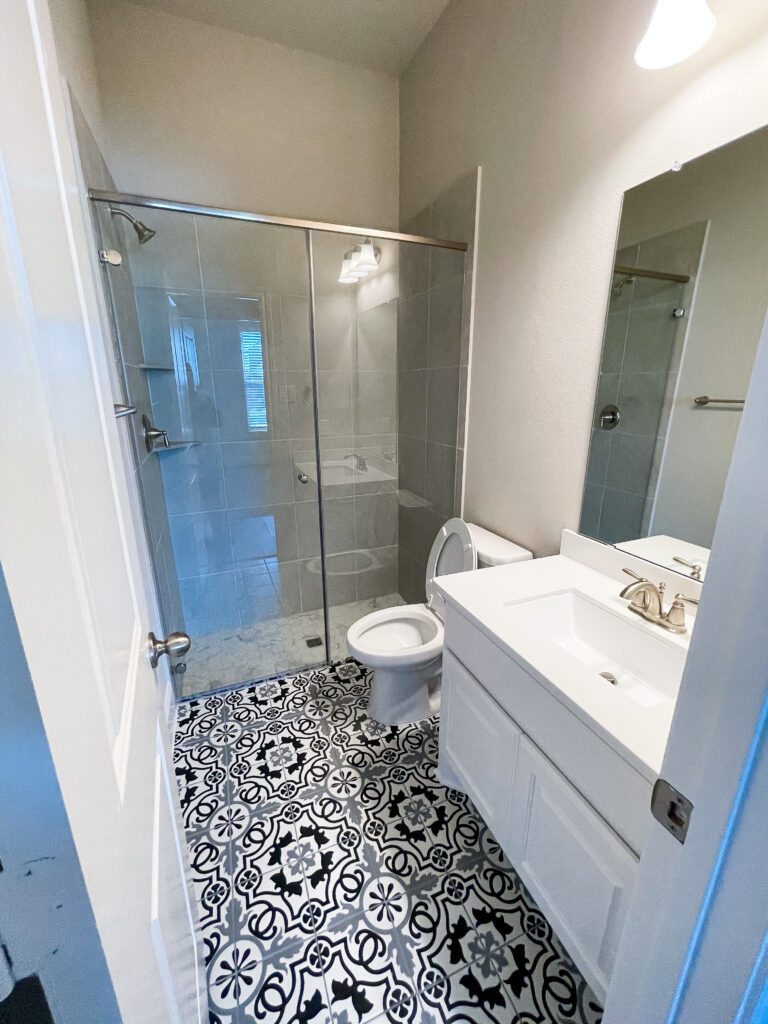
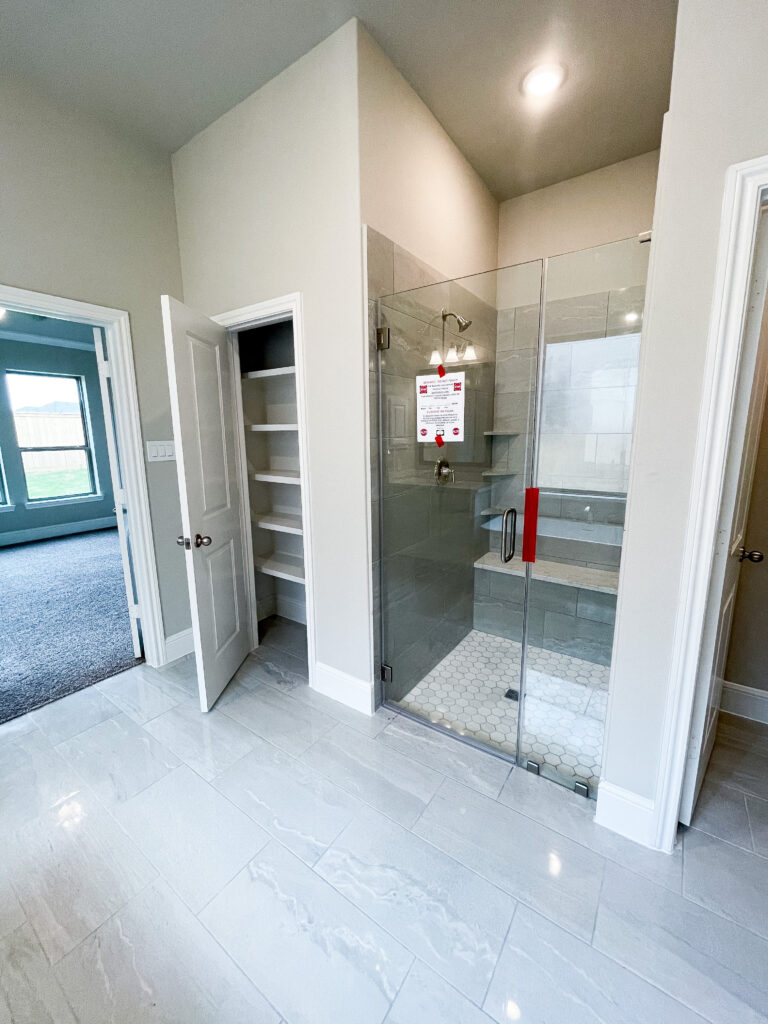
Bathrooms
- Look for scratches and nicks in the sink as well as the shower enclosure and tub.
- Check that the sink and tub stoppers hold water.
- Assure the shower strainer is fastened securely.
- Flush all toilets.
- Check that the toilet is securely fastened to the floor by sitting on it.
- While sitting there, close the door and closely examine the walls and other surfaces to make sure they are acceptable.
- While sitting there, check that the toilet-paper dispenser is at the right distance and height to avoid contorting to reach the roll.
- Check for chips in bathtubs, toilets, and sinks. Check all grout, calking, and seals in the tub, sink, and around the backsplash.
- Ensure that all faucets work properly, and check under the sinks.
- Check that cabinets are securely fixed to the wall, all doors open and close easily, and all drawers work properly.
- Assure that all installed towel racks are done right and will hold the weight of their intended product.
Heating/Air-conditioning
- Test for cold A/C.
- Check the furnace and hot water heater.
- Locate the furnace filters and assure there is one in there.
- Be sure the heat registers are not located below a thermostat.
- Check the location and number of cold air returns and make sure they are unobstructed.

Hope these tips & list makes your Blue Tape Day go smoothly!